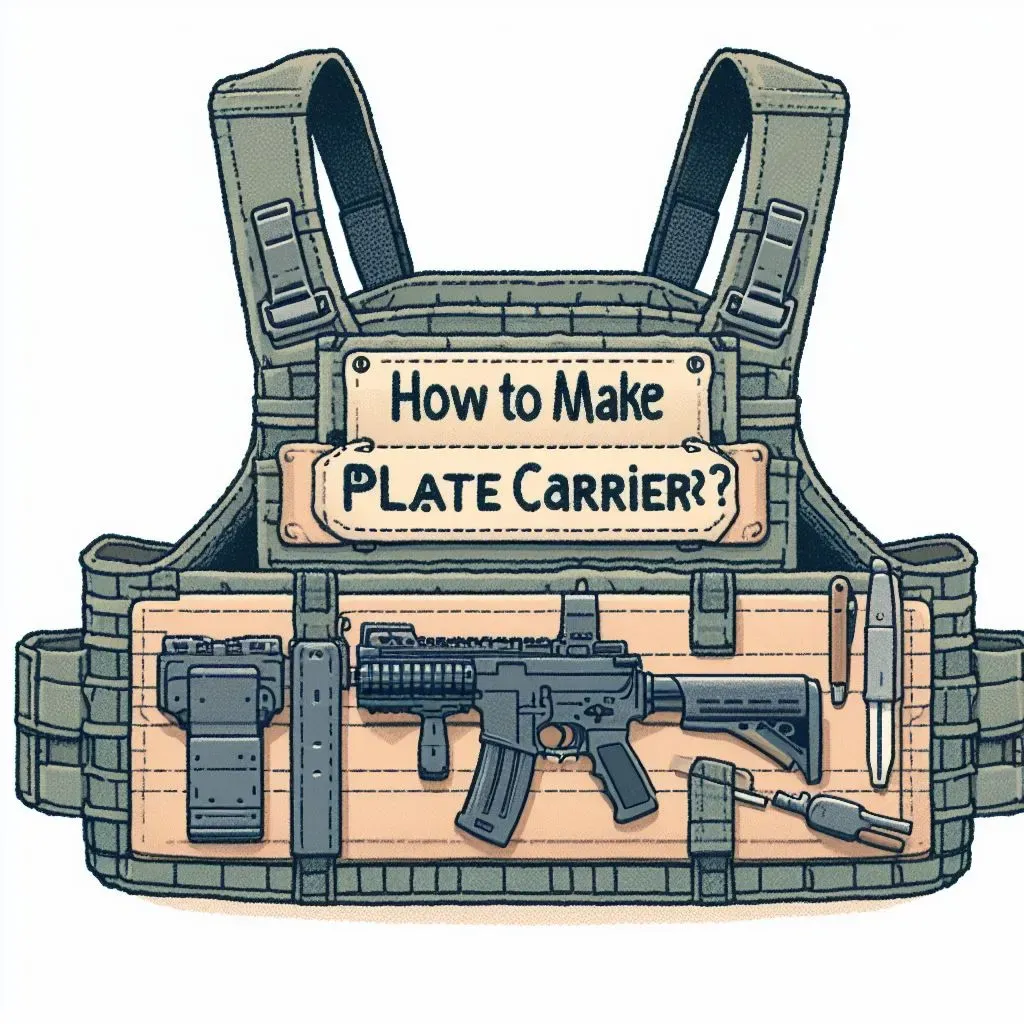
Are you tired of spending a fortune on plate carriers that don’t fit your needs or budget? Are you looking for a guide on how to make a plate carrier? In this comprehensive guide, we will take a look at how to make a plate carrier.
How to Make a Plate Carrier? | The important aspect to consider when making a plate carrier
Making your plate carrier can be a rewarding project, but it’s important to understand the risks and complexities involved. Here’s a breakdown of the process and some crucial considerations:
How to Make a Plate Carrier
Materials NeededWhen Making a Plate Carrier
The first step in making a plate carrier is gathering all of the materials you’ll need. The main materials you’ll need include:
Fabric: Choose a durable fabric that can withstand heavy use, such as 500 denier nylon.
Foam Padding: To provide extra comfort and support, you’ll need foam padding.
Webbing: You’ll need a variety of webbing to attach accessories and to create the MOLLE system.
Buckles: Choose durable buckles that can withstand heavy use.
Thread: Make sure to use a strong thread that can withstand heavy use.
Velcro
Scissors
Measuring tape
Sewing machine
Pins
Step-by-Step Guideon How to Make a Plate Carrier
Once you have all the materials and tools, you can begin making your plate carrier. Here’s a step-by-step guide to follow:
Step 1- Choosing a Design
There are many different plate carrier designs to choose from, including low-profile carriers, chest rigs, and more. It’s important to choose a design that fits your needs and preferences. Think about what kind of activities you’ll be using your plate carrier for and what features are most important to you.
Step 2- Measure and Cut the Fabric
Start by measuring and cutting the Cordura fabric to the desired size. The front and back panels should be about 12”x10”, while the side panels should be about 6”x10”. You’ll also need to cut out two strips of fabric that are 4” x 10” for the shoulder straps.
Step 2: Sew the Shoulder Straps
Fold the shoulder strap fabric half lengthwise and sew along the long edge. Turn the straps right side out and press flat. Then, sew the 1” webbing onto the straps, leaving a loop at the end for the buckles.
Step 3: Attach the Buckles
Attach the 1” buckles to the shoulder straps by threading them through the loops you created earlier. Then, attach the 2” buckles to the front and back panels of the plate carrier.
Step 4: Sew the Webbing
Sew the 1” webbing onto the front and back panels of the plate carrier, leaving a loop at the top for the shoulder straps. Then, sew the 2” webbing onto the side panels, leaving a loop at the top for the buckles.
Step 5: Attach the Velcro
Attach the Velcro to the front and back panels of the plate carrier, as well as to the ends of the shoulder straps. This will allow you to adjust the fit of the plate carrier.
Step 6: Sew the Panels Together
Finally, sew the front and back panels together, using the 2” webbing to connect the side panels. Make sure to leave an opening at the bottom of the carrier to insert your plates.
Adding Accessories
To make your plate carrier even more functional, consider adding accessories such as magazine pouches, hydration bladders, and first aid kits. You can attach these accessories using the MOLLE system or sew them directly onto the carrier.
Frequently Asked Questions
How long does it take to make a plate carrier?
The time it takes to make a plate carrier varies depending on the complexity of the design and the level of experience of the person making it. However, it typically takes several hours to complete.
How much does it cost to make a plate carrier?
The cost of making a plate carrier varies depending on the materials used and the design of the carrier. However, making your own carrier is generally more cost-effective than buying one.
Is it difficult to make a plate carrier?
Making a plate carrier requires some basic sewing skills and knowledge of tactical gear. However, with patience and practice, anyone can learn how to make a plate carrier.

")

")
")
")

")
")