Attention all adventurers, outdoor enthusiasts, and tactical professionals! Are you tired of having your water bottle flailing around while you’re on the move? Look no further! In this blog post, we’ll show you how to attach CamelBak to plate carrier – the ultimate solution for hands-free hydration.
How to Attach Camelbak to Plate Carrier? | Why Is It Important?
Staying hydrated is crucial for your overall health and well-being when you’re on a long hike or in the middle of an intense workout. The last thing you want is to run out of water in the middle of your activity, which is why having a Camelbak attached to your plate carrier is so important.
How to Attach Camelbak to Plate Carrier?
It provides you with a convenient and hands-free way to stay hydrated and ensures that you always have access to water when you need it.
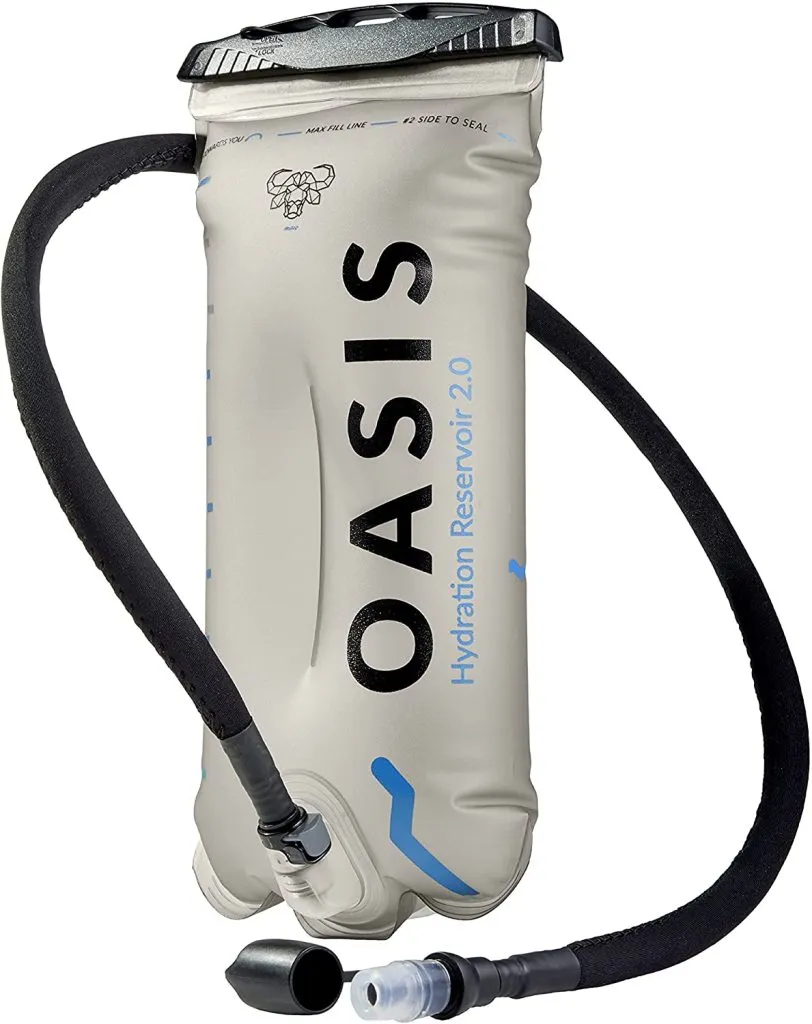
Hydration Bladder – A hydration bladder is a pouch that fits inside a backpack or plate carrier. It features a hose with a bite valve that allows you to drink without having to take off your gear.
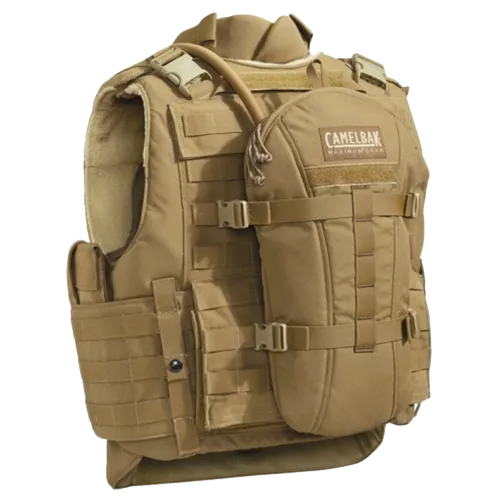
Integrated Hydration System – An integrated hydration system is a Camelbak that is built into a backpack or plate carrier. This type of Camelbak is typically more comfortable to wear and provides more stability while you’re on the move.
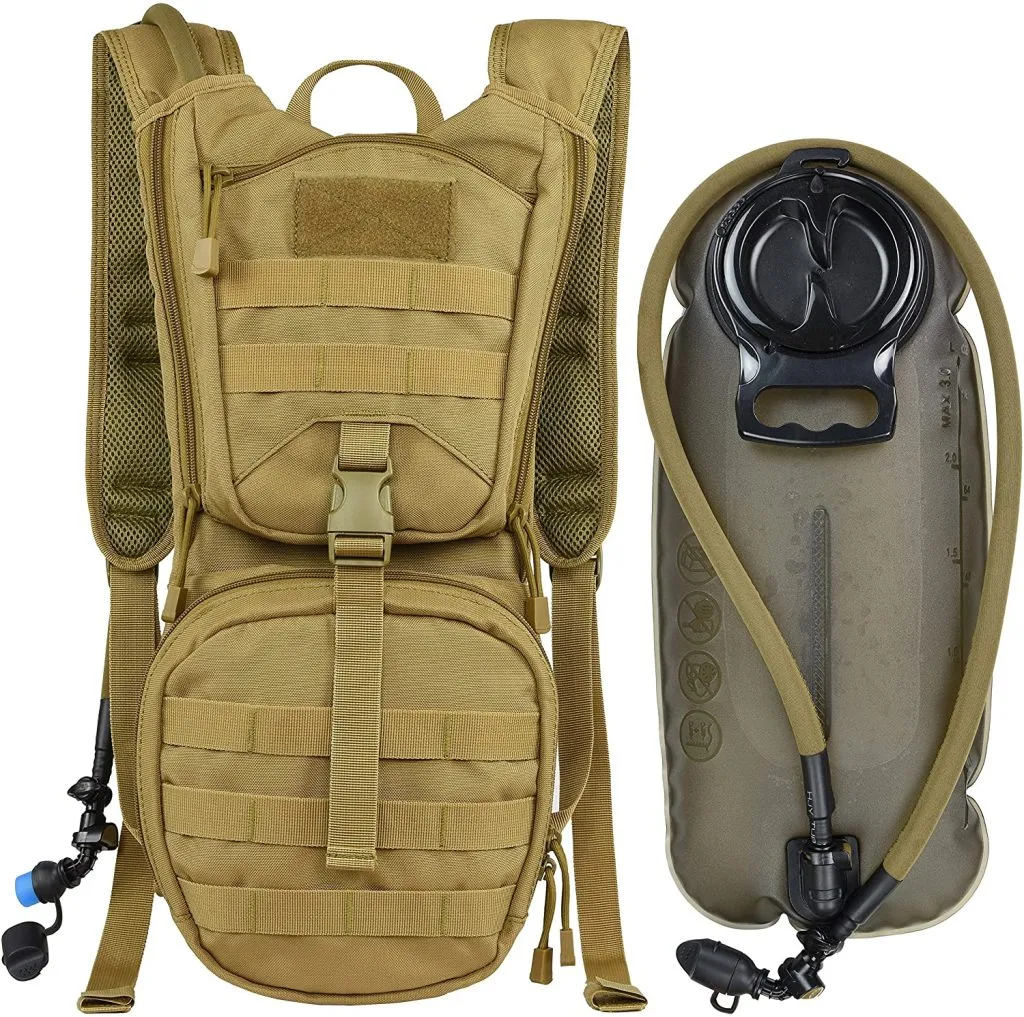
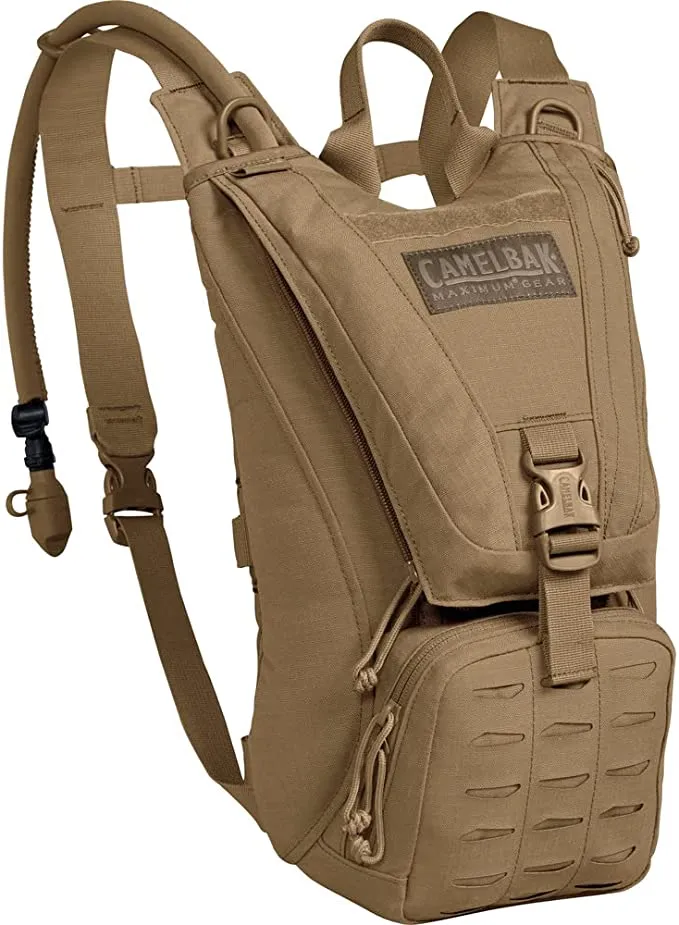
Standalone Hydration System – A standalone hydration system is a Camelbak that can be used on its own. It typically comes with a shoulder strap or a waist belt, making it easy to carry around.
How to Attach Camelbak to Plate Carrier: Step-by-Step Guide
Follow these simple steps to ensure that your Camelbak is securely attached to your plate carrier:
Step 1: Choose the Right Plate Carrier Before you can attach your Camelbak to your plate carrier, you need to make sure that you have a suitable plate carrier for the job. Look for a plate carrier with a hydration bladder compartment or a MOLLE system.
Step 2: Prepare Your Camelbak Make sure that your Camelbak is clean and filled with water before you attach it to your plate carrier.
Step 3: Locate the Hydration Pouch
The hydration pouch is usually located at the back of the plate carrier. It’s typically a pocket with a hook and loop or zipper closure.
Step 4: Attach the Camelbak to the Plate Carrier Once you’ve chosen the right plate carrier and prepared your Camelbak, it’s time to attach it to your plate carrier. First, locate the hydration bladder compartment or MOLLE system on your plate carrier. Then, insert the Camelbak into the compartment or attach it to the MOLLE system.
Step 5: Adjust the Straps
Make sure the straps of your plate carrier are adjusted properly to prevent any unnecessary movement of the Camelbak.
Step 6: Secure the Camelbak Finally, ensure your Camelbak is securely attached to your plate carrier. Double-check all of the straps and buckles to ensure that your Camelbak won’t come loose while you’re on the go.
Maintenance and Care
Now that you’ve attached your Camelbak to your plate carrier, it’s essential to properly maintain and care for your gear to ensure it lasts long and functions correctly.
Cleaning – After each use, it’s important to clean your Camelbak and plate carrier. Use a mild detergent and warm water to clean the hydration bladder, hose, and bite valve.
Drying – After cleaning, make sure to air dry your Camelbak and plate carrier. Do not put them in a dryer as it may damage the fabric and cause it to shrink.
Storage – When not in use, store your Camelbak and plate carrier in a cool, dry place. Do not store them in direct sunlight as it may cause the fabric to fade and deteriorate over time.
Frequently Asked Questions about how to attach Camelbak to a plate carrier
What is a CamelBak and Plate Carrier?
A CamelBak is a hydration system that allows you to carry water and other liquids while on the move. A Plate Carrier is a type of tactical vest designed to protect the wearer by holding armor plates.
Can any CamelBak be attached to any Plate Carrier?
No, not all CamelBaks can be attached to all Plate Carriers. Different Plate Carriers have different attachment points and systems, so it’s important to ensure that the CamelBak you choose is compatible with your Plate Carrier.
What are the different ways to attach a CamelBak to a Plate Carrier?
There are several ways to attach a CamelBak to a Plate Carrier, including using MOLLE attachments, clips, or straps.
How do I attach a CamelBak to the MOLLE webbing on my Plate Carrier?
To attach a CamelBak to the MOLLE webbing on your Plate Carrier, you will need to use MOLLE straps or clips. These will typically come with your CamelBak and will need to be threaded through the MOLLE webbing on your Plate Carrier and the attachment points on your CamelBak.
Can I attach a CamelBak to the back of my Plate Carrier?
Yes, you can attach a CamelBak to the back of your Plate Carrier. This can be a good option for those who want to keep their hydration system out of the way but still easily accessible.
How do I ensure that my CamelBak is securely attached to my Plate Carrier?
To ensure that your CamelBak is securely attached to your Plate Carrier, you should follow the manufacturer’s instructions carefully and check that all attachment points are secure before use.
Can I still access the contents of my Plate Carrier if a CamelBak is attached to it?
Yes, you should still be able to access the contents of your Plate Carrier even with a CamelBak attached. However, you may need to adjust the placement of the CamelBak or remove it temporarily to access certain pockets or compartments.
How do I clean and maintain the CamelBak and Plate Carrier after use?
To clean and maintain your CamelBak and Plate Carrier, you should follow the manufacturer’s instructions carefully. This may involve hand-washing or using a washing machine on a gentle cycle. It’s also important to regularly inspect the attachment points and straps for any signs of wear or damage.
Are there any safety considerations when attaching a CamelBak to a Plate Carrier?
Yes, there are some safety considerations when attaching a CamelBak to a Plate Carrier. You should ensure that the CamelBak is not too heavy and does not obstruct your movement or impede your ability to access your weapon or other gear.
What are some tips for using a CamelBak and Plate Carrier together effectively in different situations?
Some tips for using a CamelBak and Plate Carrier together effectively include choosing a CamelBak with a capacity that suits your needs, adjusting the placement of the CamelBak to suit the terrain or activity, and practicing using the system in different scenarios to ensure that you can access your hydration easily and quickly when you need it.


")

")
")
")
")
")